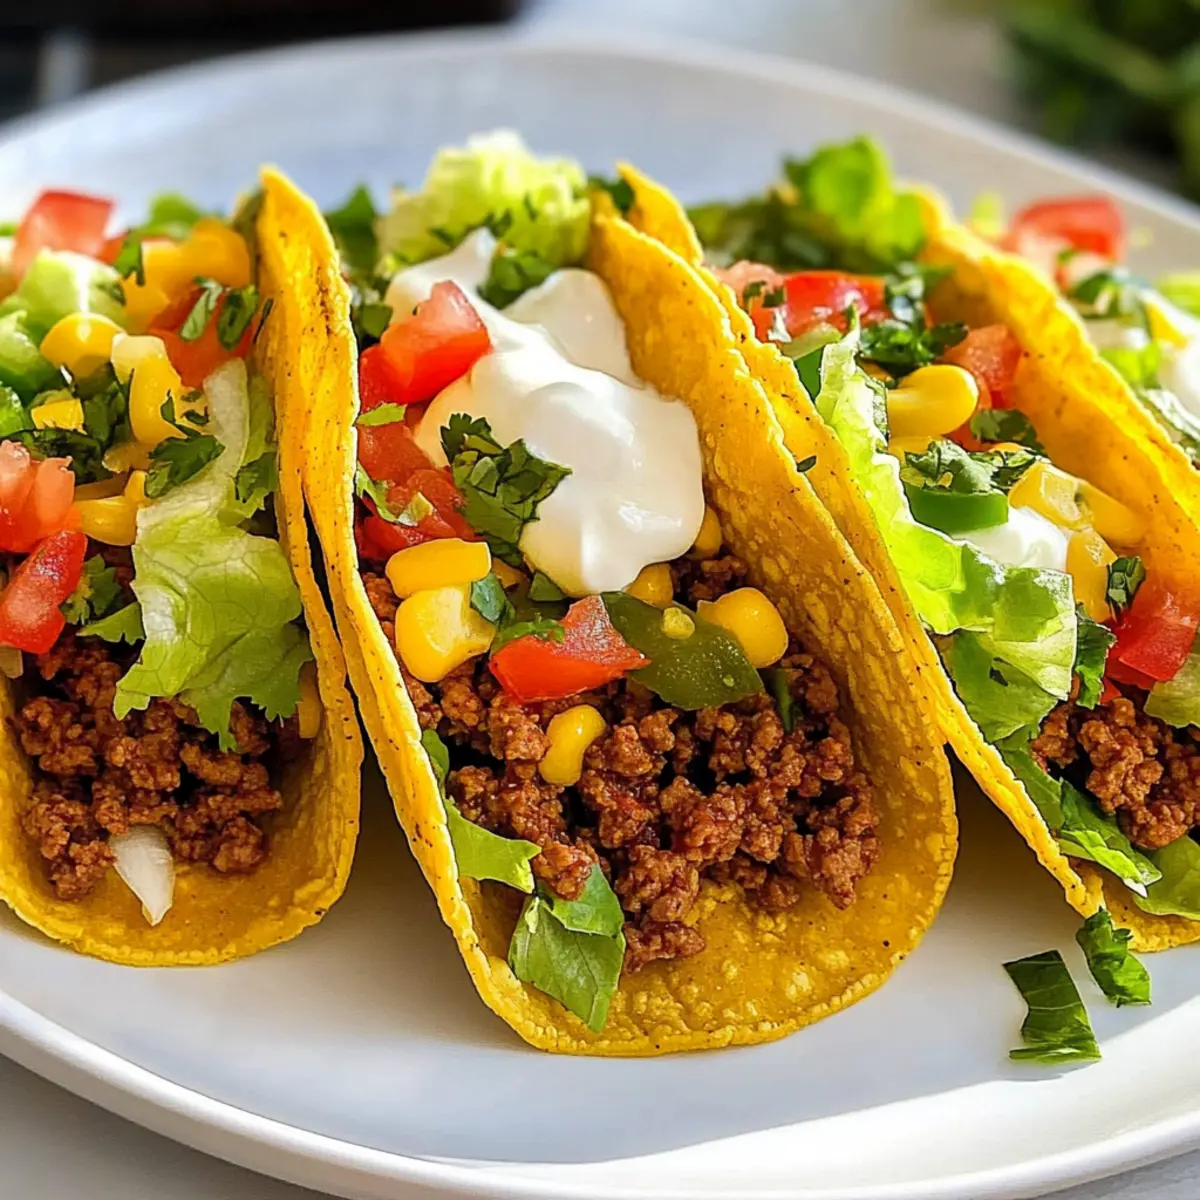
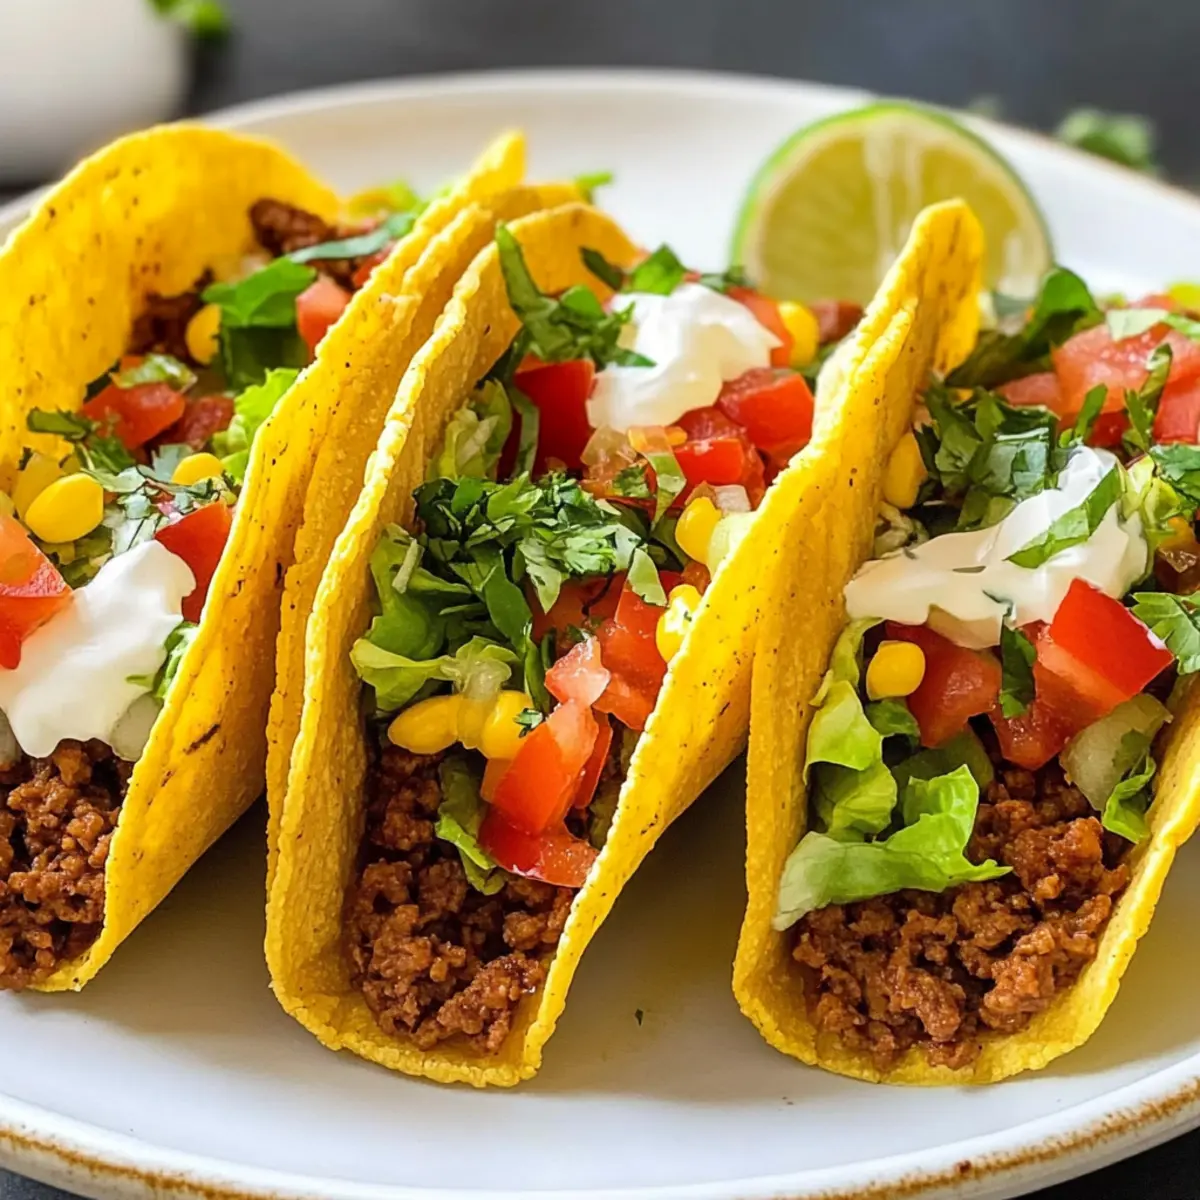
With the sizzling sound of seasoned beef hitting the skillet, I felt transported to my favorite taco joint, where every bite is a crunchy celebration. Today, I’m excited to share my recipe for Crispy Tex-Mex Beef Tacos, a dish that captures the essence of family-friendly meals yet promises a quick and easy prep. Perfect for those busy weeknights or casual get-togethers, these tacos are not only a delicious homemade alternative to fast food but also make for an inviting make-ahead option. As each flavorful taco shell fills up with a tender beef mixture and your chosen toppings, you’ll find yourself savoring every moment at the dinner table. What will you pile on top of yours?
Why Are Crispy Tacos So Irresistible?
Flavor Explosion: Each taco is packed with a seasoned beef filling that dances on your taste buds, complemented by fresh toppings.
Quick Prep: You can have these delightful tacos on the table in just 30 minutes, perfect for those hectic evenings.
Family-Friendly: Everyone will love customizing their tacos with their favorite toppings, making dinnertime a fun experience.
Versatile Options: Experiment with different proteins like ground turkey or plant-based alternatives for a twist, or even mix in beans for added nutrition.
Make-Ahead Magic: Prep the beef mixture in advance and enjoy the convenience of an easy weeknight meal. Dive into these tacos, much like our delicious Teriyaki Chicken Wontons or Baked Cheesy Tacos, and embrace a culinary adventure at home!
Tacos Ingredients
Get ready to create explosive flavors with these irresistible tacos!
For the Beef Filling
- Ground Beef – Main protein source; opt for 90% lean to avoid excess grease.
- Baking Soda – Use to tenderize the beef for a melt-in-your-mouth filling.
- Salt – Enhances flavor; adjust according to your taste preference.
- Vegetable Oil – Essential for sautéing; can substitute with olive oil if desired.
- Onion (Yellow) – Adds sweetness and complexity; a red or white onion can provide a twist.
- Garlic – This aromatic gem boosts flavor; fresh is best, but garlic powder works too.
- Chili Powder – The main spice in the beef mixture; swap it for taco seasoning if preferred.
- Ground Cumin – Adds a warm, earthy tone; can be omitted for a milder flavor.
- Ground Coriander – Offers a hint of citrus; optional but recommended for depth.
- Smoked Paprika – Gives a lovely smokiness; sweet paprika is a suitable alternative.
- Dried Oregano – Adds herbal notes to the mix; Italian seasoning can be a substitute.
- Cayenne Pepper – Adds heat; adjust according to your spice tolerance.
- Tomato Sauce – A moist base for the filling, adding tanginess; use your favorite brand.
- Water – Helps to adjust the filling’s consistency to your liking.
- Sugar – Balances out acidity; optional based on the sweetness of your tomato sauce.
- Lime Juice – Brightens flavors beautifully; fresh lime is preferred, but bottled works too.
For Serving
- Taco Shells – Choose hard or soft based on your personal preference for a classic taco experience.
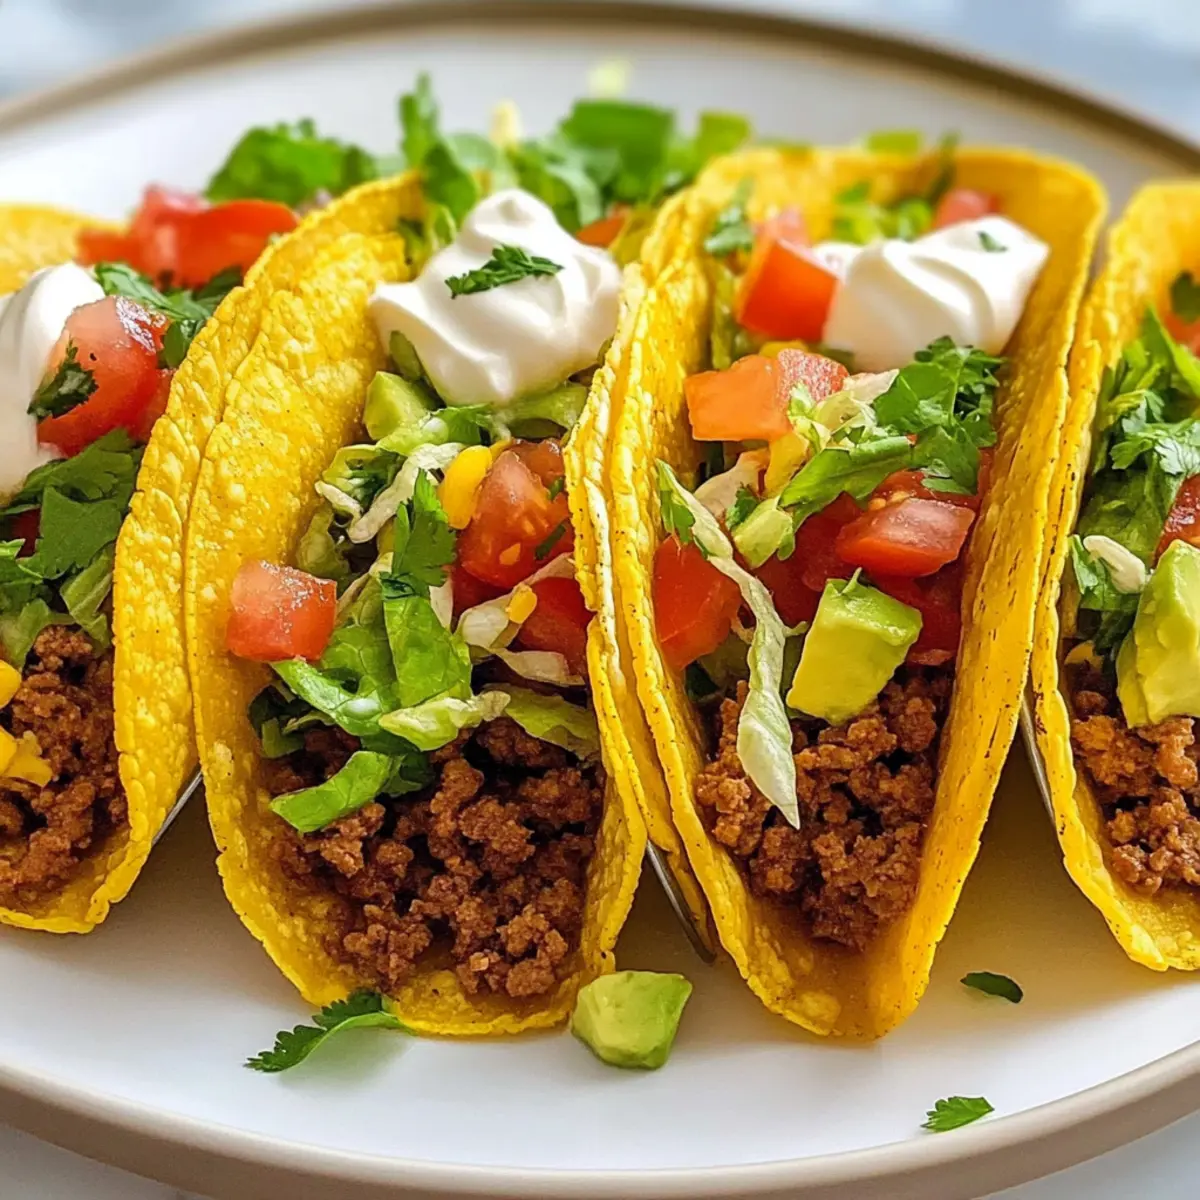
- Optional Toppings – Customize with shredded cheese, lettuce, diced tomatoes, sour cream, avocado, onions, and cilantro for that perfect crunch and freshness.
With these ingredients ready, your tacos will be bursting with flavor and love!
Step‑by‑Step Instructions for Crispy Tex-Mex Beef Tacos
Step 1: Marinate the Beef
In a medium bowl, mix the ground beef with baking soda and salt. Allow this mixture to sit for 15 minutes to 1 hour to tenderize the beef, which will enhance the flavor and texture of your tacos. This step is crucial for achieving that melt-in-your-mouth filling, setting the stage for your Crispy Tex-Mex Beef Tacos.
Step 2: Heat the Oil
Place a nonstick skillet over medium heat and add enough vegetable oil to coat the bottom. Once the oil is shimmering, which should take about 2 minutes, it’s ready for the next phase. This step ensures a perfect cooking environment to sauté your onions and garlic, infusing your beef mixture with essential flavors.
Step 3: Sauté the Aromatics
Add the chopped onion to the heated skillet and sauté for about 4 minutes until softened and translucent. Then, stir in the minced garlic and cook for an additional minute until fragrant. The sizzling sound will bring a warm aroma into your kitchen, making it feel cozy and inviting—perfect for your Crispy Tex-Mex Beef Tacos.
Step 4: Cook the Beef
Introduce the marinated beef mixture into the skillet along with the chili powder, cumin, coriander, smoked paprika, oregano, and cayenne pepper. Cook everything together for about 5 minutes, breaking up the meat until it’s no longer pink. The seasonings will coat each morsel of beef, enhancing the flavors of your taco filling.
Step 5: Add Sauce Ingredients
Stir in the tomato sauce, water, sugar, and lime juice, bringing the mixture to a gentle simmer over medium heat. Allow it to cook for another 2–3 minutes until it begins to bubble. This creates a luscious sauce that binds the beef, ensuring every bite of your Crispy Tex-Mex Beef Tacos is juicy and flavorful.
Step 6: Thicken the Mixture
Reduce the heat to medium-low and let the beef mixture cook uncovered for 10-15 minutes. Stir occasionally, allowing it to thicken slightly and the flavors to meld. Keep an eye on the consistency; the filling should be moist but not too saucy to ensure the best taco experience.
Step 7: Fill the Taco Shells
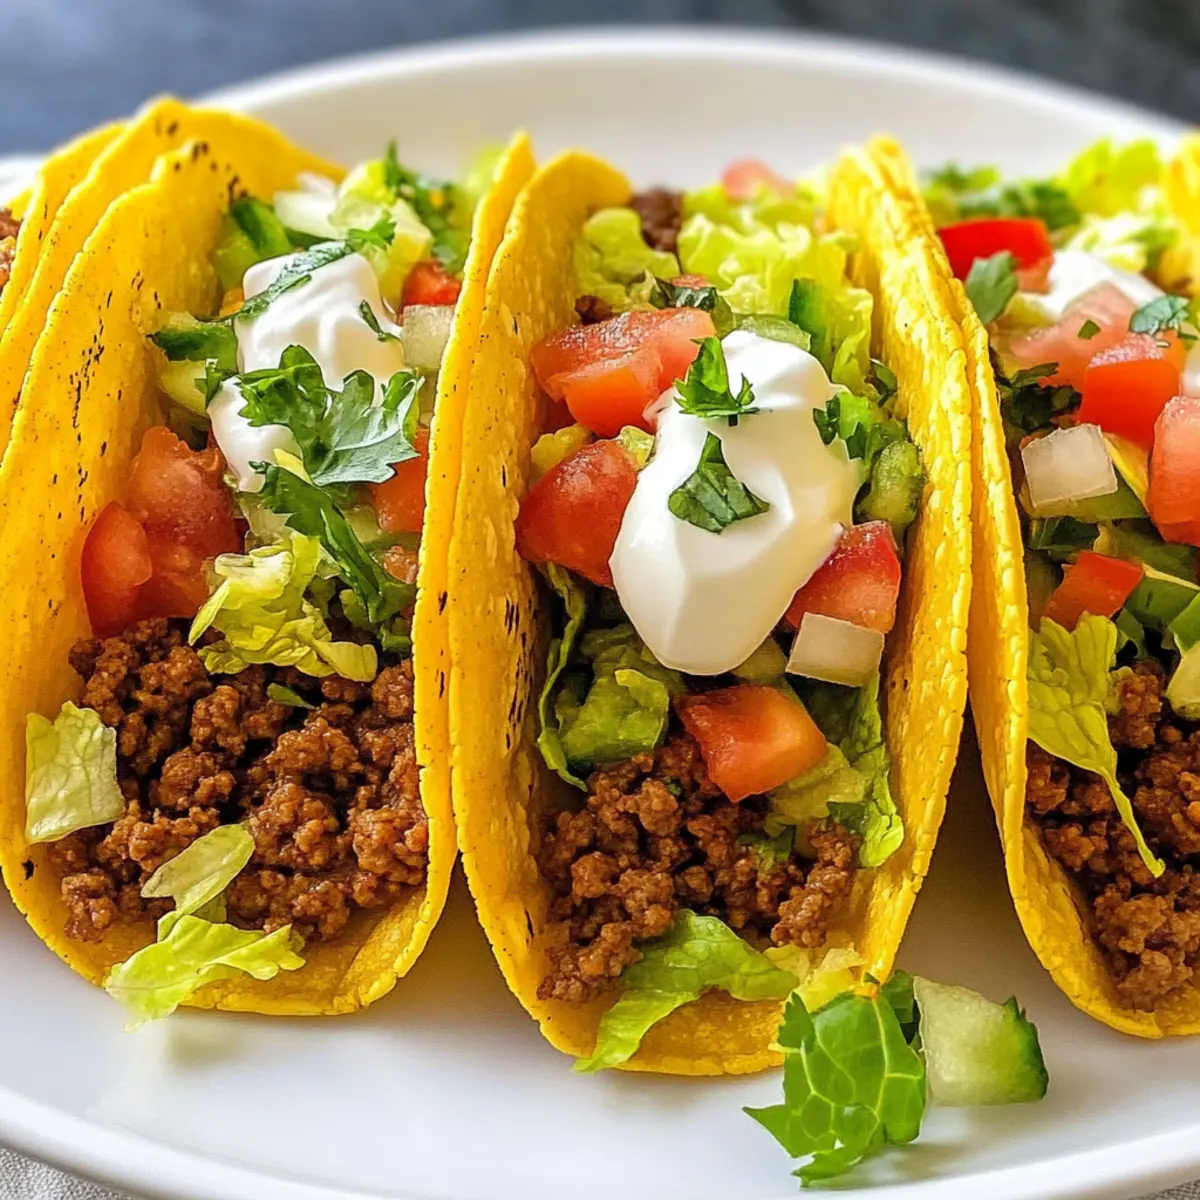
Once the beef mixture is thickened to your liking, it’s time to fill your taco shells! Spoon a generous amount of the beef filling into each taco shell. The crispy exterior will provide a delightful contrast to the seasoned beef, making your Crispy Tex-Mex Beef Tacos truly satisfying.
Step 8: Serve with Toppings
Arrange the filled taco shells on a serving platter and invite your family or friends to customize their tacos with optional toppings like shredded cheese, lettuce, diced tomatoes, sour cream, avocado, onions, and cilantro. This adds a personal touch to each taco and makes for a fun mealtime experience.
Tacos Variations & Substitutions
Feel free to make these tacos your own with exciting variations and substitutions that will enhance their deliciousness!
-
Dairy-Free: Use vegan cheese or simply skip cheese altogether to keep things light and fresh.
For those looking to avoid dairy, this twist allows everyone to indulge without compromise. -
Gluten-Free: Opt for corn tortillas instead of flour taco shells for a gluten-free option that’s just as satisfying.
Corn tortillas not only align with gluten-free diets but also add a delightful corn flavor that enhances the taco experience. -
Add More Protein: Mix in black beans, pinto beans, or lentils along with the beef to boost protein and fiber content.
This simple addition brings heartiness and a unique twist, while also catering to those seeking a more filling meal. -
Spicy Upgrade: Toss in chopped jalapeños or diced green chilies to the beef for an extra layer of heat.
If you’re a spice lover, don’t hold back! This variation ensures that every bite delivers a delightful kick. -
Flavor Fusion: Replace traditional chili powder with chipotle powder or harissa for a smoky, bold flavor.
It’s an exciting way to shake things up, adding depth and a lovely warmth to your beef filling. -
Herbs & Greens: Top with fresh herbs like cilantro or mint to elevate freshness and add a vibrant color contrast.
Bright herbs can completely transform the taco experience, bringing brightness to the savory ingredients. -
Crunchy Add-On: Incorporate crushed tortilla chips or fried onions inside the taco for added texture and crunch.
This little twist will make your biting experience even more diverse and enjoyable, ensuring a satisfying crunch in every mouthful.
These variations let you explore new flavors and textures, making your taco night a culinary adventure. Pair your creations alongside tempting dishes like Baked Cheesy Tacos or experience different delights with our Teriyaki Chicken Wontons. Happy cooking!
Make Ahead Options
These Crispy Tex-Mex Beef Tacos are perfect for meal prep enthusiasts! You can prepare the beef filling up to 3 days in advance. Simply cook the beef mixture, allow it to cool, and store it in an airtight container in the refrigerator. This not only saves you time on busy weeknights but also ensures that the flavors meld beautifully. When you’re ready to serve, just reheat the beef mixture over medium heat, adding a splash of water if necessary to maintain moisture. Fill your taco shells with the reheated beef and don’t forget to add your favorite toppings for a delicious homemade meal, just as satisfying as if it were freshly made!
Expert Tips for Perfect Tacos
- Resting Time: Allow the beef to marinate with baking soda for optimal tenderness; this step can make all the difference in your taco filling.
- Spice it Up: Cook the spices right with the beef mixture to amplify their flavors; don’t skip this crucial step for memorable tacos!
- Moisture Control: Keep the beef mixture slightly saucy to ensure the filling isn’t dry; this will enhance the overall texture of your tacos.
- Break It Up: Remember to frequently break up the beef while cooking to avoid big chunks; this ensures even distribution of flavors in your tacos.
- Customize Wisely: Don’t hesitate to mix in your favorite toppings; customizing your tacos invites creativity and guarantees an enjoyable meal for everyone!
How to Store and Freeze Tacos
Fridge: Store leftover tacos in an airtight container in the refrigerator for up to 3 days to maintain their flavor and moisture.
Freezer: For longer storage, wrap taco fillings tightly in plastic wrap or place in an airtight freezer bag. They can be frozen for up to 3 months.
Reheating: To reheat, thaw in the fridge overnight, then warm the beef mixture on medium heat, adding a splash of water if needed to restore moisture.
Assembly Tip: It’s best to store taco shells separately from the beef mixture to keep them crisp. When ready to eat, fill the shells with the reheated beef and your favorite toppings.
What to Serve with Crispy Tex-Mex Beef Tacos
Transform your taco night into a memorable dining experience with delightful sides that complement these savory tacos perfectly!
-
Mexican Rice: A classic side dish that’s fluffy, flavorful, and the ideal base to soak up all those delicious taco juices.
-
Refried Beans: Creamy and hearty, these beans provide a rich contrast to the crispy tacos, making each bite satisfyingly vibrant.
-
Fresh Guacamole: The creamy, tangy guacamole brings a fresh burst of flavor, balancing the spices in your tacos beautifully.
-
Corn Salad: A light and refreshing option, this salad adds sweetness and crunch, elevating the overall meal experience.
-
Chips and Salsa: Crispy tortilla chips served with zesty salsa make for an addictive snack while assembling your tacos or enjoying as an appetizer.
-
Pineapple Margaritas: The sweet and tangy flavor of pineapple margaritas pairs perfectly with the savory tacos, turning your meal into a festive feast.
Pairing these delightful treats with your crispy tacos will create a spread that’s more than just a meal; it’s a celebration of flavors and togetherness!
Crispy Tex-Mex Beef Tacos Recipe FAQs
What kind of ground beef should I use?
I recommend using 90% lean ground beef for a deliciously tender filling without excess grease. However, feel free to substitute with ground turkey, chicken, or even a plant-based alternative if you prefer a different protein option.
How should I store leftover tacos?
Leftover tacos can be stored in an airtight container in the refrigerator for up to 3 days. Ensure you separate the taco shells from the beef mixture to keep them crispy. This little trick makes reheating a breeze, helping you savor those delicious flavors.
Can I freeze the taco filling?
Absolutely! To freeze, wrap the cooled beef filling tightly in plastic wrap or place it in an airtight freezer bag. This way, you can store it for up to 3 months. When you’re ready to enjoy, simply thaw in the fridge overnight, then reheat on medium heat, adding a splash of water to bring back moisture if needed.
What if my beef mixture is too saucy?
If you find your beef mixture is too saucy, cook it uncovered for a few extra minutes over medium-low heat to allow excess moisture to evaporate. Stir occasionally to prevent it from sticking to the pan. The goal is a moist but not dripping filling—just perfect for your crispy tacos!
Can I make these tacos gluten-free?
Yes, you can! To make your Crispy Tex-Mex Beef Tacos gluten-free, simply use corn tortillas instead of traditional wheat taco shells. Additionally, check your spice blends and any toppings for gluten-containing ingredients to ensure a safe dining experience.
Crispy Tacos Loaded with Flavor in Just 30 Minutes
Ingredients
Equipment
Method
- In a medium bowl, mix the ground beef with baking soda and salt. Allow this mixture to sit for 15 minutes to 1 hour to tenderize the beef.
- Place a nonstick skillet over medium heat and add enough vegetable oil to coat the bottom. Heat until shimmering, about 2 minutes.
- Add the chopped onion to the skillet and sauté for about 4 minutes until softened. Stir in the minced garlic and cook for an additional minute.
- Introduce the marinated beef mixture into the skillet along with chili powder, cumin, coriander, smoked paprika, oregano, and cayenne pepper. Cook for about 5 minutes until meat is no longer pink.
- Stir in the tomato sauce, water, sugar, and lime juice. Bring to a gentle simmer and cook for another 2-3 minutes until bubbly.
- Reduce heat to medium-low and cook uncovered for 10-15 minutes, stirring occasionally to let it thicken.
- Spoon a generous amount of beef filling into each taco shell.
- Serve the filled taco shells and invite everyone to add their favorite toppings.