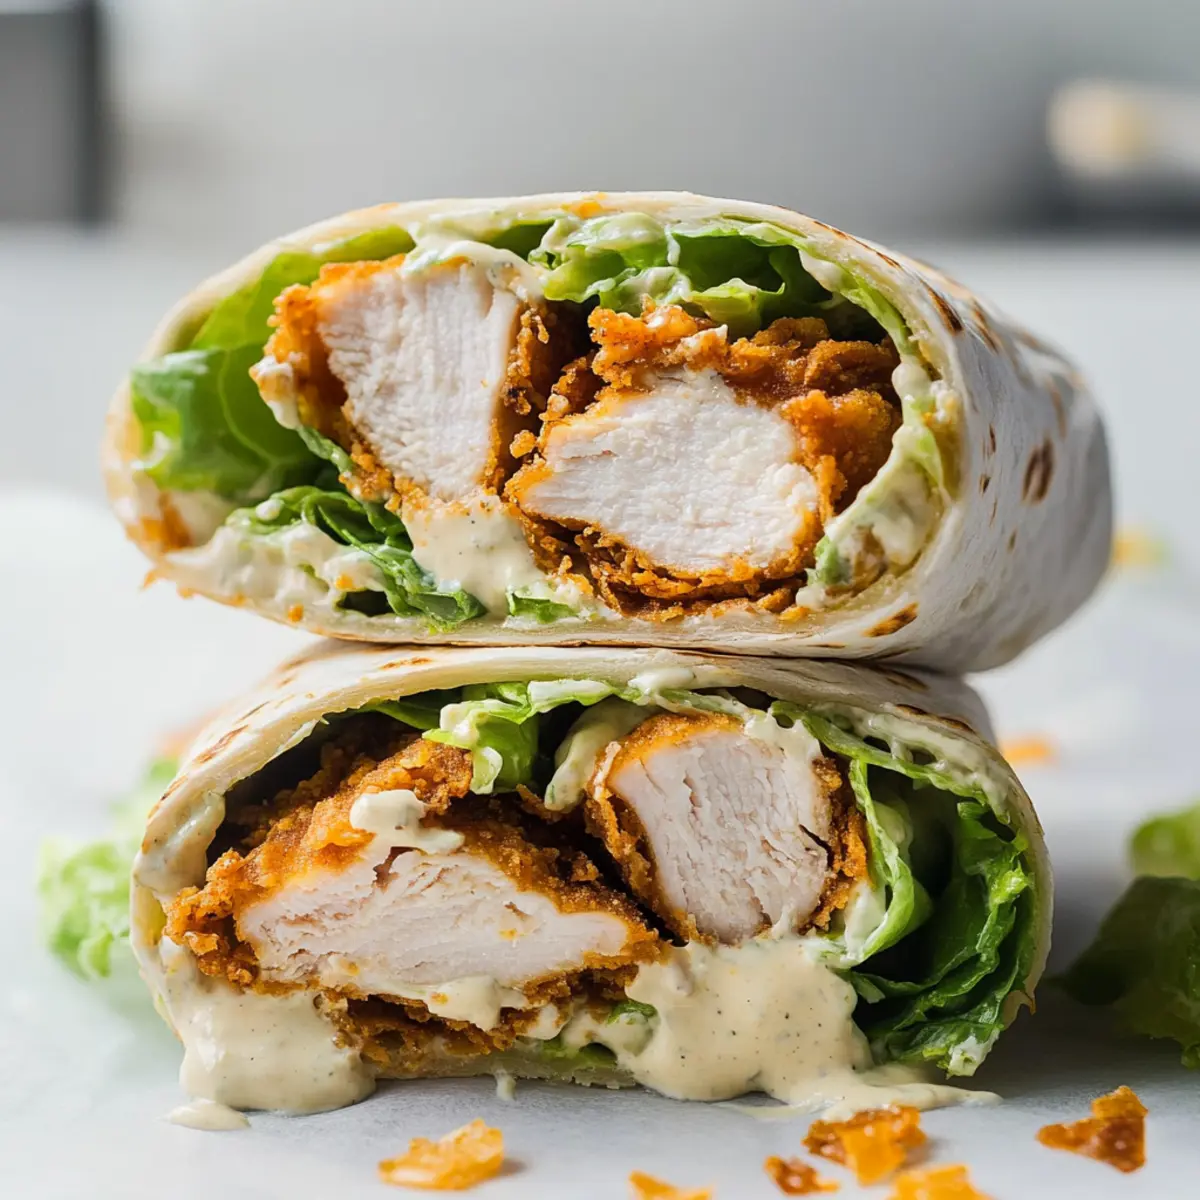
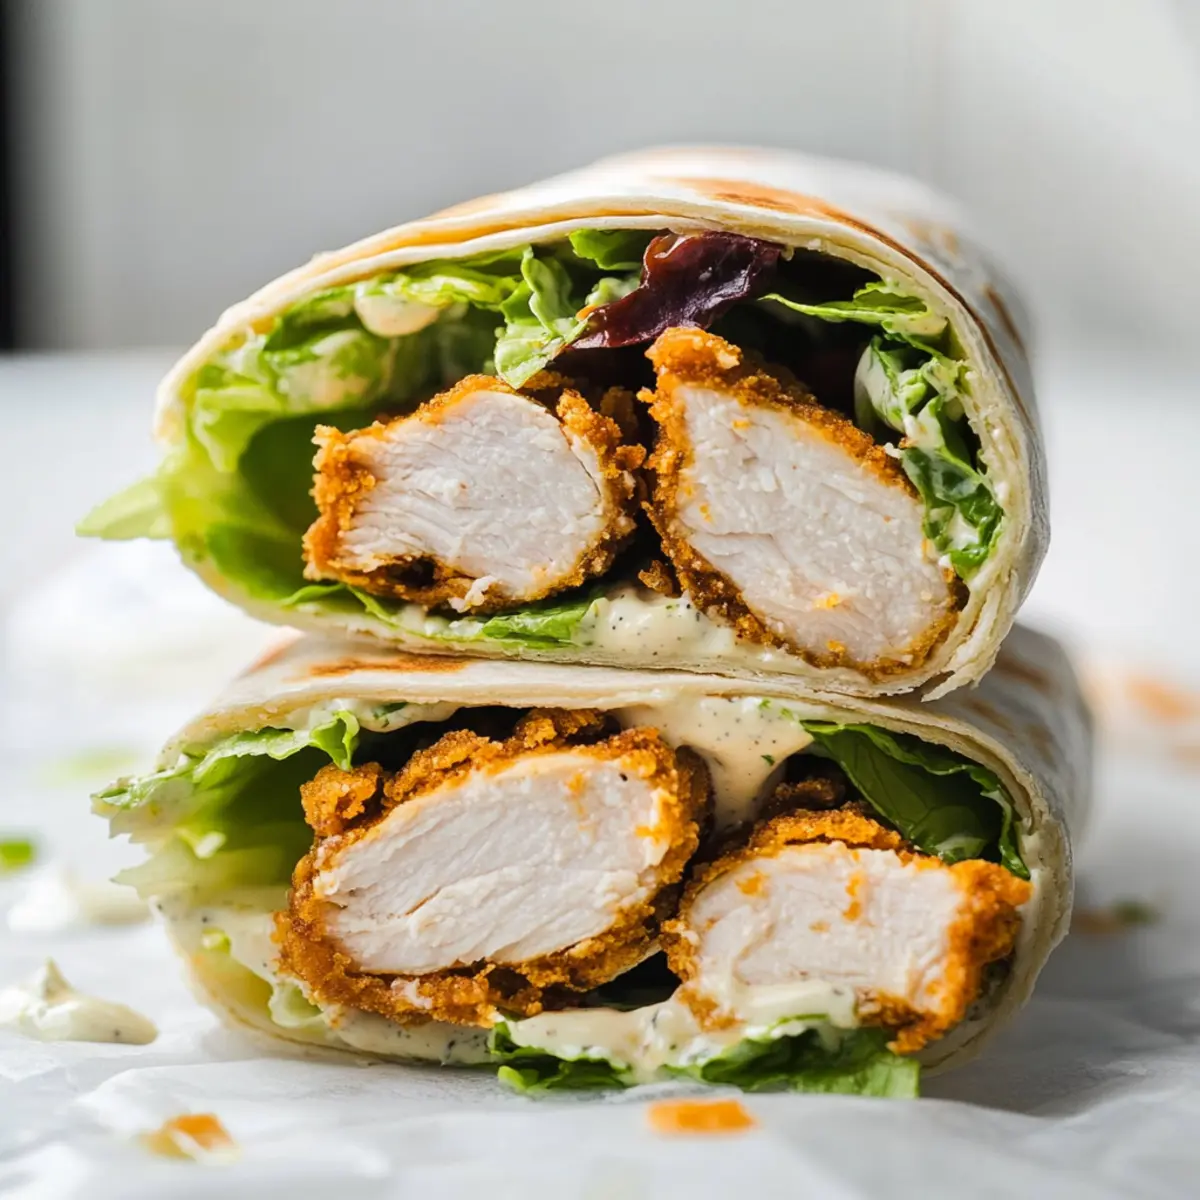
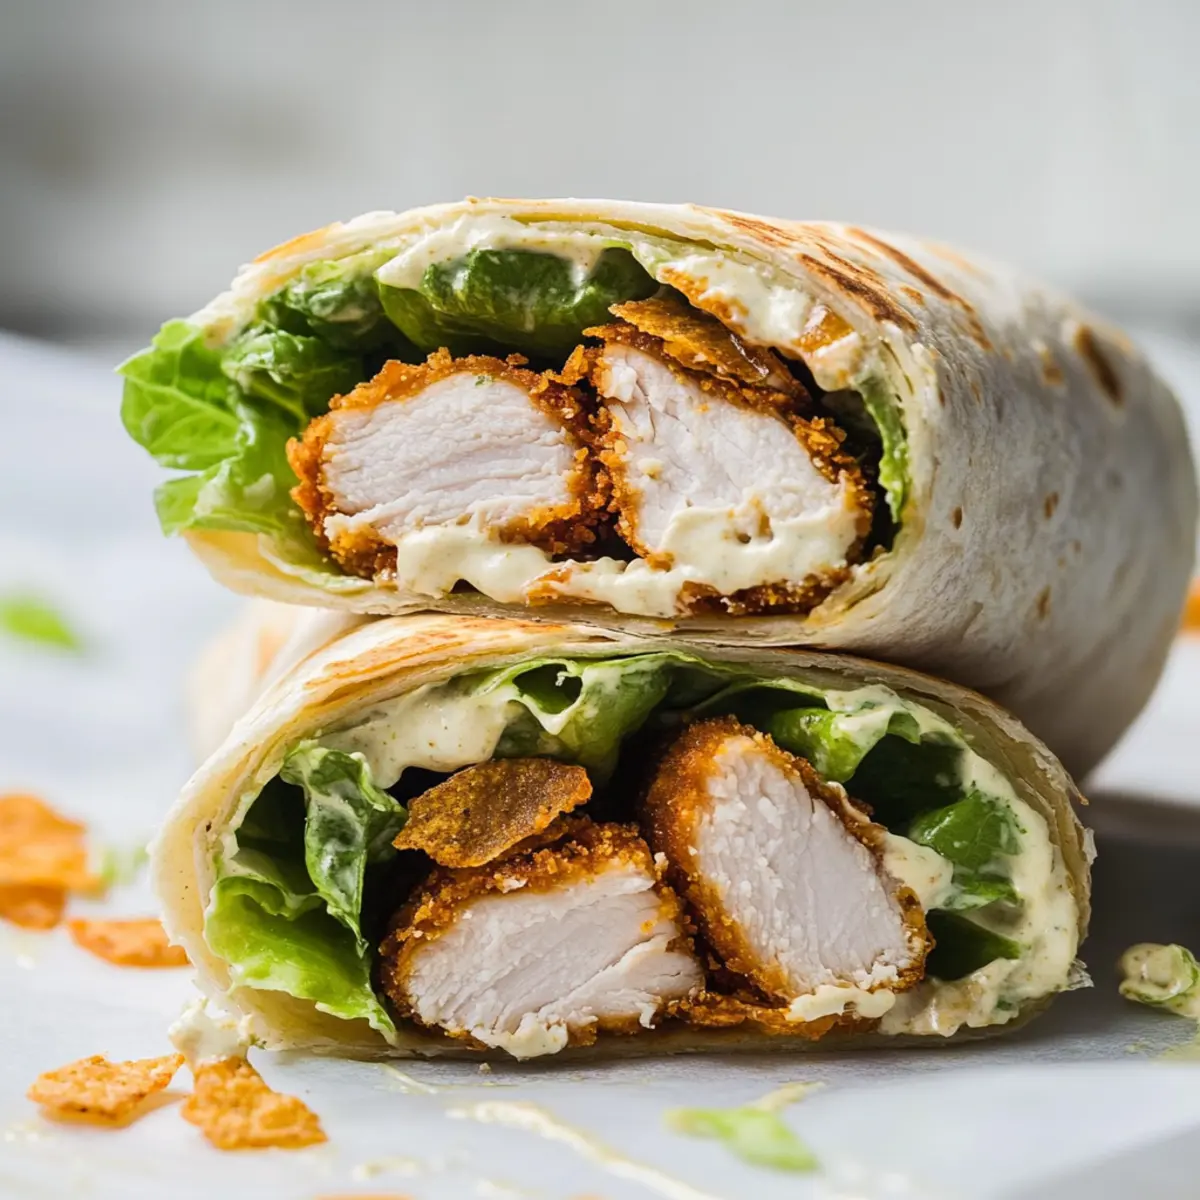
Sizzling sounds fill the kitchen as I unwrap a warm tortilla, and a wave of excitement washes over me—today, I’m making Crunchy Chicken Caesar Wraps! Packed with crispy chicken tenders, fresh romaine lettuce, and a creamy homemade dressing, these wraps are the ultimate portable meal. Not only are they quick to prepare, but they also bring family-friendly flavors that even the pickiest eaters won’t resist. Plus, the customizable nature of this recipe means everyone can enjoy their favorite protein or add-in, from grilled chicken to slices of creamy avocado or even turkey bacon. How do you feel about mixing tradition with convenience? Let’s dive into this deliciousness together!
Why choose Chicken Caesar Wraps?
Easy to Make: This recipe is perfect for those busy days when time is tight but you still crave something delicious. Customizable Options: Feel free to swap in grilled chicken or add avocado for extra flavor! Kid-Friendly: Even the pickiest eaters will enjoy these tasty wraps. Serve them up with a side of fresh vegetable sticks for a wholesome meal. If you’re looking for more quick dinner ideas, check out our Chicken Pillows Cozy or Parmesan Cajun Chicken recipes. Low-Carb Alternatives: Use jicama or cheese wraps if you’re watching your carbs without missing out on taste! Perfect for Meal Prep: These can be assembled ahead of time and stored in the fridge, making lunchtime a breeze.
Chicken Caesar Wraps Ingredients
For the Chicken
• Prepared Chicken Tenders – Primary protein source; feel free to use homemade or store-bought options for convenience.
• Grilled Chicken Breast – A lighter alternative that’s deliciously seasoned with garlic powder and salt.
For the Dressing
• Caesar Dressing – Provides creaminess and essential flavor; can be made in 2 minutes or purchased pre-made for a quick fix.
For the Wrap
• Large Burrito-sized Tortillas – The foundation for your wraps; these are perfect for holding all those tasty ingredients.
• Low-Carb Tortillas – Use these for a healthier option without sacrificing flavor; great for a low-carb lifestyle!
For the Fillings
• Romaine Lettuce – Adds crunch and freshness to your wraps; traditional for Caesar salads but feel free to try other greens!
• Shaved Parmesan Cheese – Enhances flavor with its nutty, salty taste; substitute with grated Parmesan if needed.
Enjoy whipping up these Chicken Caesar Wraps that combine tasty convenience with your family’s favorite flavors!
Step‑by‑Step Instructions for Crunchy Chicken Caesar Wraps
Step 1: Prepare the Chicken
If you’re using store-bought chicken tenders, cook them in the oven according to the package instructions until golden and crispy, about 18-20 minutes at 400°F (200°C). For homemade tenders, follow your preferred recipe to achieve a beautifully crunchy texture. Once cooked, let them rest for a few minutes before slicing to ensure maximum juiciness.
Step 2: Make the Dressing
While the chicken is baking, whip up your Caesar dressing. In a small bowl, combine mayonnaise, lemon juice, minced garlic, Worcestershire sauce, and freshly grated Parmesan cheese. Stir until smooth and creamy, adjusting seasoning with salt and pepper to taste. This simple dressing will bring the classic Caesar flavor to your wraps, taking just about 2-3 minutes.
Step 3: Warm the Tortillas
Next, prepare your tortillas to enhance their flexibility. Wrap a stack of large burrito-sized tortillas in a damp paper towel and microwave for 15-30 seconds until warm and pliable. Alternatively, you can heat them in the oven at 350°F (175°C) for about 5-7 minutes. This step is essential for making your Chicken Caesar Wraps easy to roll without tearing.
Step 4: Assemble the Wraps
Lay a warm tortilla flat on a cutting board. Start layering by adding a generous handful of chopped romaine lettuce to the center of the tortilla. Place 1-2 crunchy chicken tenders on top, followed by a sprinkle of shaved Parmesan cheese. Drizzle with your creamy Caesar dressing, ensuring every bite will be deliciously flavored with that signature taste.
Step 5: Roll & Serve
To roll your wraps, fold in the sides of the tortilla first, then start rolling from the bottom up to encapsulate all the tasty fillings. Roll tightly to prevent ingredients from falling out, ensuring a neat finish. Once completed, slice each wrap in half diagonally for easy handling and serve immediately for the best flavor and crunch.
Chicken Caesar Wraps Variations Made Easy
Feel free to mix and match these delicious twists to create the perfect Chicken Caesar Wraps that suit your mood and taste!
-
Grilled Chicken: Swap out the crispy chicken tenders for grilled chicken breast for a lighter flavor. The smokiness of grilled chicken complements the creamy dressing beautifully.
-
Turkey Bacon: For a savory twist, add crispy turkey bacon instead of chicken. It provides a satisfying crunch and a unique, salty flavor.
-
Avocado Add-In: Toss in slices of creamy avocado for an extra buttery texture and a boost in healthy fats. Avocado elevates the wrap, adding richness and heartiness.
-
Vegetable Boost: Try adding sliced tomatoes or shredded carrots for an extra crunch and burst of flavor. These fresh veggies bring a pop of color and added nutrition!
-
Low-Carb Option: Switch to low-carb tortillas or even lettuce leaves for a healthier, lighter wrap. Using lettuce keeps it refreshing and guilt-free!
-
Zesty Kick: Include sliced jalapeños for a spicy kick. The heat will balance the creaminess of the dressing, making it an exciting option for spice lovers.
-
Herb Infused: Add fresh herbs like basil or cilantro for a fragrant, earthy twist. A hint of green freshness brightens each bite and enhances the wrap’s taste.
-
Cheese Variation: Use grated Asiago or Pecorino cheese instead of Parmesan for a bolder cheese flavor. Each wrap will pack a punch with this intensely flavored cheese.
By trying out these variations, you can customize your Chicken Caesar Wraps to keep the whole family excited about mealtime! If you love the combination of flavors, be sure to explore our recipes for Bbq Chicken Skewer or Chinese Chicken Green for more delicious inspiration!
What to Serve with Crunchy Chicken Caesar Wraps
Indulge in a delightful spread that complements the satisfying crunch and creamy flavor of these wraps, creating the perfect family meal.
- Crispy Sweet Potato Fries: Their natural sweetness and crispiness provide a delightful contrast to the savory wraps. These make for a comforting side that everyone will love.
- Garlic Roasted Vegetables: Roasted seasonal veggies tossed in garlic elevate the meal with earthy flavors, adding a burst of color to your plate.
- Classic Potato Salad: Creamy potato salad balances the crunch of the wraps, giving you that homey feel with every bite. It’s a timeless side that comforts the soul.
- Caesar Salad: Keep the Caesar flavor theme going! A small side salad adds extra greens and freshness, enhancing the overall dining experience.
- Fruit Salad: Bright and refreshing, a fruit salad’s natural sweetness cleanses the palate and adds a vibrant touch to your plate.
- Sparkling Lemonade: A refreshing drink that pairs beautifully, cutting through the richness of the wraps while providing a zesty zest.
- Chocolate Chip Cookies: Finish off your meal with warm, chewy chocolate chip cookies. Their sweetness is the perfect ending to a savory feast.
- Pickle Platter: A variety of pickles can offer a tart crunch that livens up each bite of your Chicken Caesar Wraps, adding a unique twist to the meal.
- Chips with Salsa: A side of crunchy tortilla chips paired with zesty salsa can serve as a fun dip while maintaining that casual dining vibe.
- Wine Spritzer: A light wine spritzer can complement the wraps for an adults-only twist, making the meal feel a little more special.
Make Ahead Options
These Crunchy Chicken Caesar Wraps are a fantastic choice for busy home cooks looking to streamline meal prep! You can prepare the chicken tenders and Caesar dressing up to 3 days in advance. Simply cook the chicken as directed and store it in an airtight container in the refrigerator to maintain its crispness. The dressing can also be made ahead—just refrigerate it and give it a quick stir before use. When you’re ready to serve, warm the tortillas (15-30 seconds in the microwave) and assemble your wraps with the prepped ingredients for a quick and satisfying meal. This way, you can enjoy a delicious, homemade meal without the hassle on those busy nights!
Expert Tips for Crunchy Chicken Caesar Wraps
- Warm Tortillas: Ensure tortillas are warm to keep them pliable; this prevents tearing as you roll them up for your Chicken Caesar Wraps.
- Don’t Overfill: Avoid overstuffing your wraps, as this can lead to messy spills. Keep to 1-2 chicken tenders and a handful of veggies.
- Squeeze Bottle for Dressing: Use a squeeze bottle to apply Caesar dressing accurately without overwhelming the wrap, ensuring every bite is perfectly dressed.
- Customize Flavor: Experiment with various proteins like grilled chicken or turkey bacon for unique taste variations while keeping the essence of Chicken Caesar Wraps.
- Prepare Ahead: For easy meals, prep all ingredients in advance and keep them stored separately in the fridge; assemble just before serving for best results.
How to Store and Freeze Chicken Caesar Wraps
- Fridge: Store assembled Chicken Caesar Wraps in an airtight container for up to 2 days. This keeps them fresh and ready for quick meals on busy days.
- Freezer: To freeze, wrap each prepared Chicken Caesar Wrap individually in plastic wrap and place in a freezer bag. They can be frozen for up to 2 months.
- Thawing: Thaw wraps overnight in the refrigerator before reheating. For the best texture, enjoy them cold or warm gently in the microwave.
- Reheating: If you prefer a warm wrap, microwave for 30-45 seconds or heat in a preheated oven at 350°F (175°C) for 10 minutes, ensuring they’re warmed through but not soggy.
Crunchy Chicken Caesar Wraps Recipe FAQs
How do I choose the right chicken for my wraps?
Absolutely! For the most delicious Chicken Caesar Wraps, opt for freshly cooked chicken tenders or grilled chicken breast. If using store-bought chicken tenders, look for ones that are crispy and golden brown. If you prefer healthier options, lightly season grilled chicken breast with garlic powder and a dash of salt for a savory flavor boost!
What’s the best way to store leftover Chicken Caesar Wraps?
I recommend wrapping your assembled Chicken Caesar Wraps in plastic wrap and storing them in an airtight container in the refrigerator. They’ll stay fresh for up to 2 days. For best results, keep the lettuce and dressing separate until you’re ready to eat, as this helps maintain the wrap’s crunch!
Can I freeze my Chicken Caesar Wraps?
Yes, you can definitely freeze them! Just wrap each Chicken Caesar Wrap individually in plastic wrap and place them inside a freezer bag. They’ll stay good for up to 2 months. When you’re ready to enjoy one, thaw it overnight in the refrigerator. For the best texture, you can warm it in the microwave or enjoy it cold!
What should I do if my wraps are falling apart?
Very! If your wraps are falling apart, it could be due to overfilling. I suggest sticking to 1-2 chicken tenders and a handful of veggies. Make sure your tortillas are warm and pliable as well; this can make rolling them a lot easier. If they’re still having trouble, try using a squeeze bottle to drizzle the dressing precisely—this way, you won’t have too much liquid causing sogginess.
Are Chicken Caesar Wraps suitable for those with dietary restrictions?
Absolutely! To make Chicken Caesar Wraps suitable for various diets, consider using gluten-free tortillas or low-carb options like jicama or cheese wraps. If you’re concerned about allergies, ensure you choose a Caesar dressing that is free from allergens and check your chicken sources as well. If you’re making these for kids or those who are picky, feel free to adjust the protein and veggies to suit their tastes!
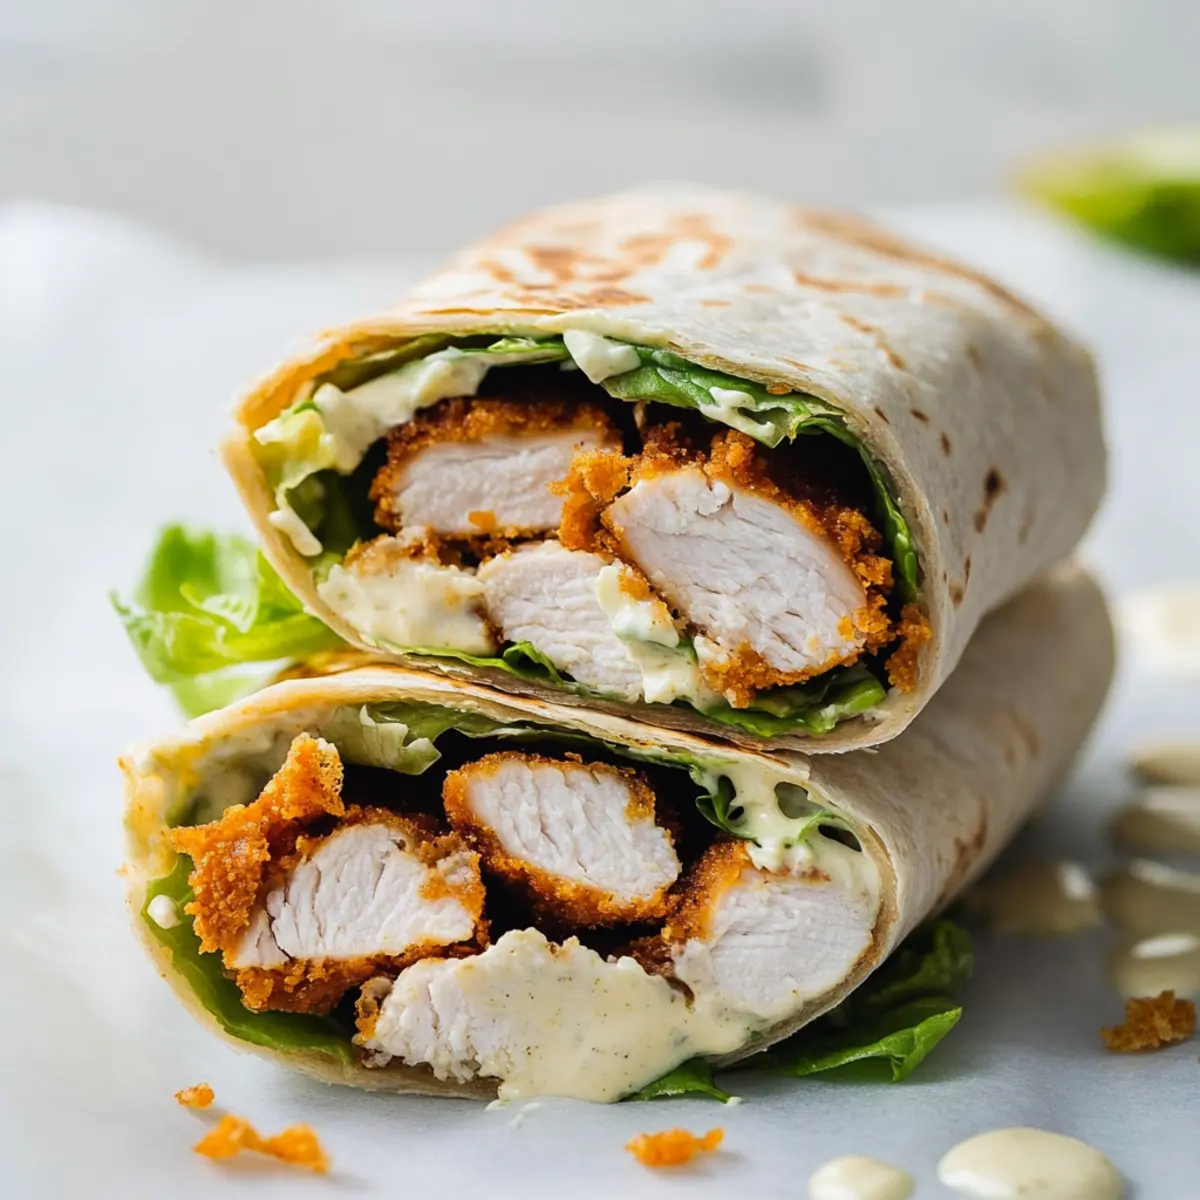
Savory Chicken Caesar Wraps: Quick, Crunchy Family Delight
Ingredients
Equipment
Method
- Prepare the Chicken: Cook chicken tenders in the oven according to package instructions (18-20 minutes at 400°F) until golden and crispy.
- Make the Dressing: Mix mayonnaise, lemon juice, garlic, Worcestershire sauce, and Parmesan cheese in a bowl until smooth.
- Warm the Tortillas: Wrap tortillas in a damp towel and microwave for 15-30 seconds or heat at 350°F for 5-7 minutes.
- Assemble the Wraps: Layer lettuce, chicken tenders, Parmesan cheese, and dressing on a tortilla.
- Roll & Serve: Fold in the sides of the tortilla and roll tightly. Slice diagonally and enjoy!